How to Create a Community in WhatsApp Business
How to Create a Community in WhatsApp Business?
Create a Community in WhatsApp Business to stay connected with your customers, share updates, and provide real-time support. With WhatsApp’s Communities feature, you can bring multiple groups under one umbrella and manage them more efficiently, making communication smoother and more organised for your business..
Step 1: Open WhatsApp
Make sure your app is updated to the latest version. This ensures you can access all the newest features, including the Communities option.
Step 2: Tap the ‘New Community’ Option
- Go to the footer menu and click Communities.
- Tap on Start your Community.
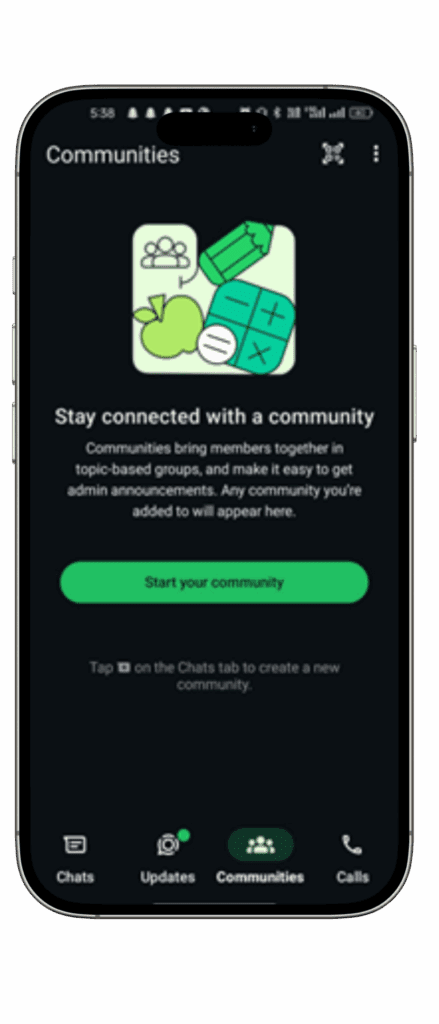
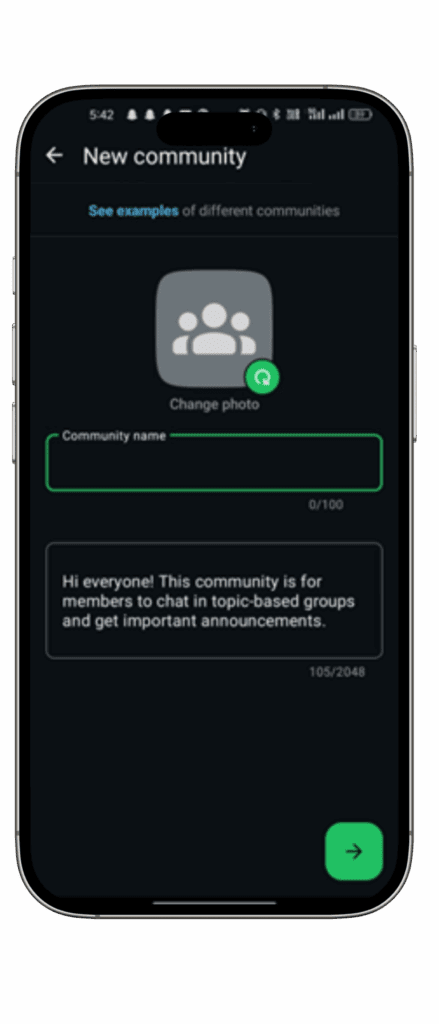
Step 3: Add Community Details
- Enter the Community Name (up to 100 characters).
- Add a profile photo and description to explain the purpose of the community.
- Once done, click the arrow icon in the right-hand corner to proceed.
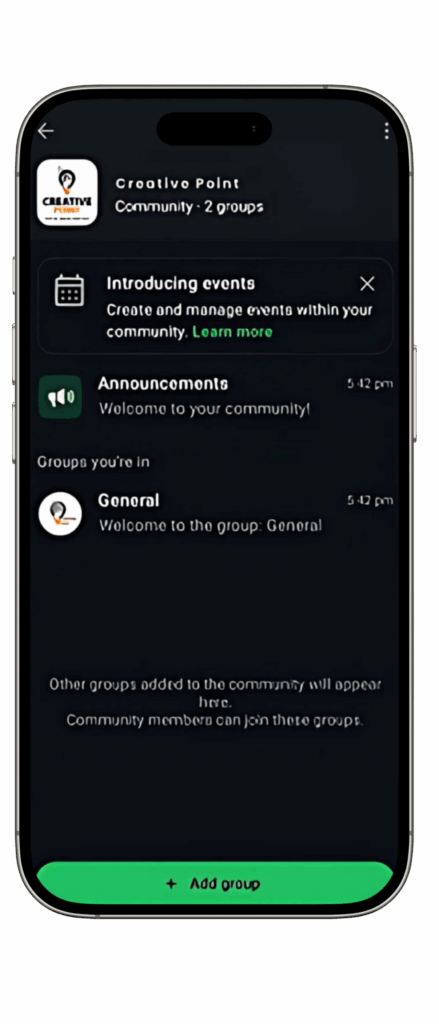
Step 4: Add or Create Groups
- You can create new groups or add existing groups to your community.
- For example, you might have separate groups for Customer Queries, Exclusive Offers, and Product Announcements.
iPhone Users
Step 1:
If you’re using an iPhone:
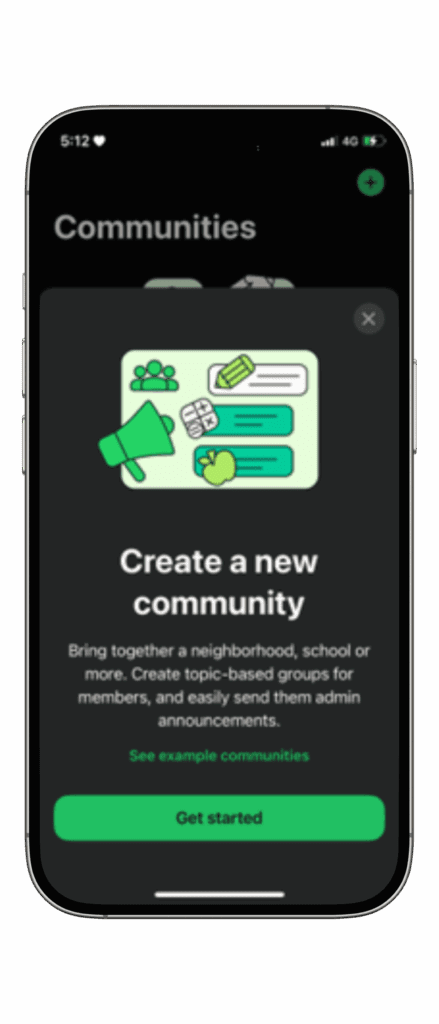
- Go to Settings > tap Communities.
- Click the Plus (+) icon to create a new community. Follow the same steps to name, describe, and add groups.
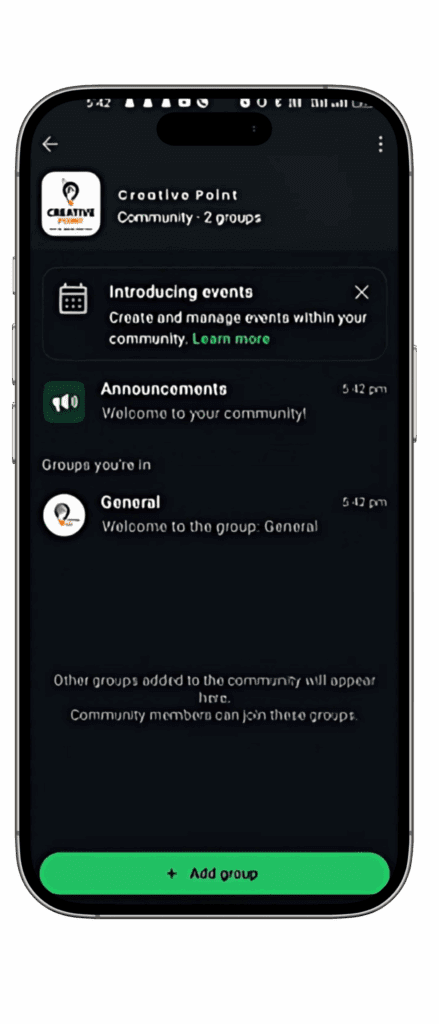
What Happens Next?
Once your community is created, you can use the Announcement Group (created by default) to send messages that reach all members across the groups. Only admins can post in this group, making it perfect for important updates.


